ゴリラの簡単な折り方|プリント折り紙付 How to fold Gorilla
折り紙で作る簡単なゴリラ
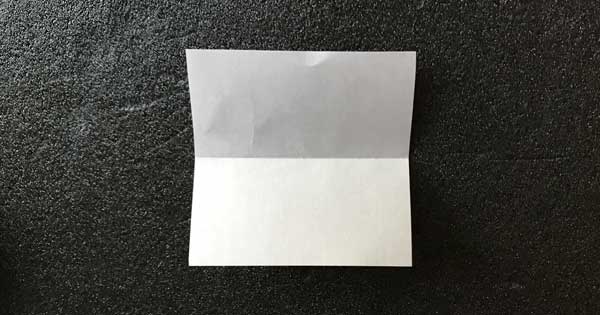
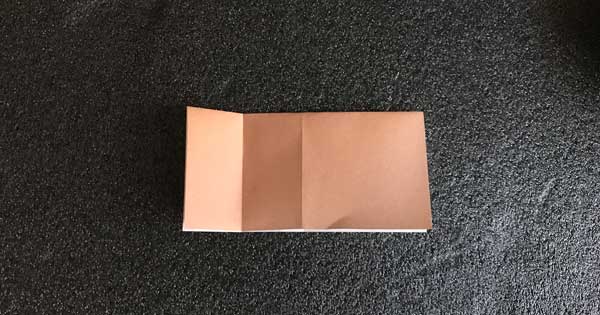
真ん中に折り目をつけます
Make a crease in the middle
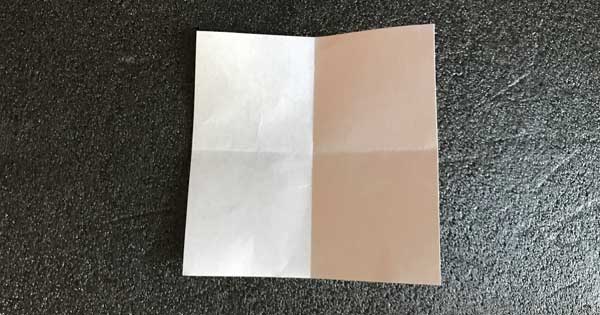
横に折り目をつけます
Yoko ni orime o tsukemasu10/5000Make a crease on the side
横も折り目をつけます
Make a crease on the side
角に折り目をつけます
Tsuno ni orime o tsukemasu10/5000Make a crease in the corner
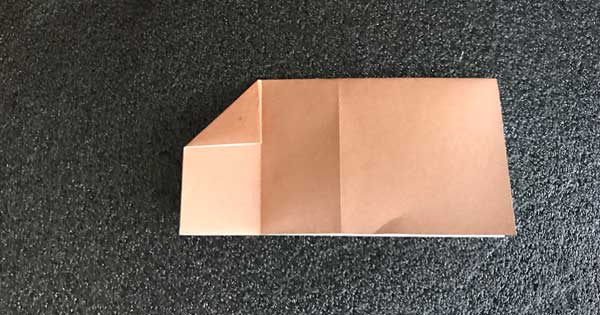
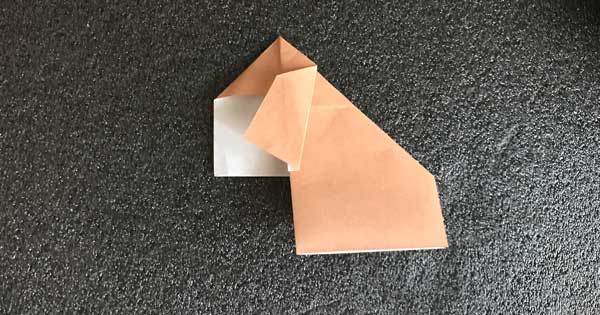
開いて写真のように折ります
Open and fold like the picture
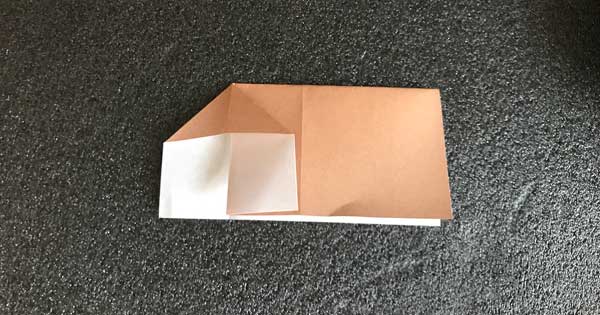
開いた右側を斜めに折り返します
Fold the open right side diagonally
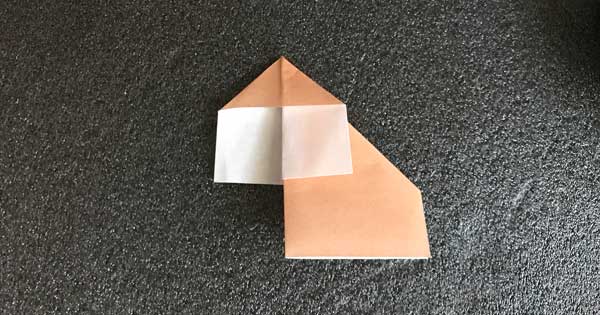
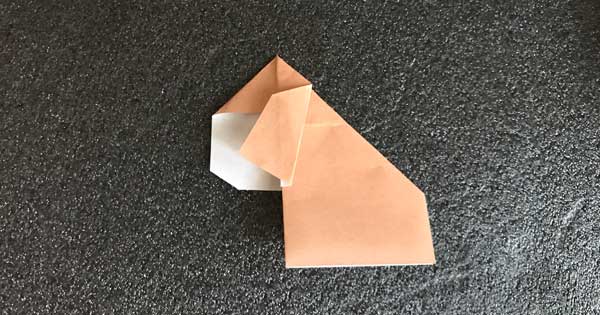
左下のあご部分を斜めに折ります
Fold the lower left chin diagonally
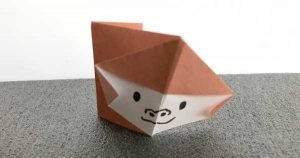
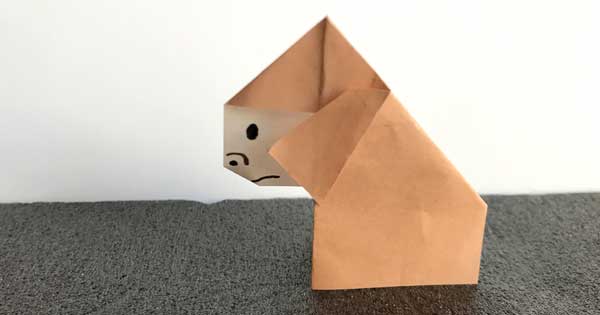
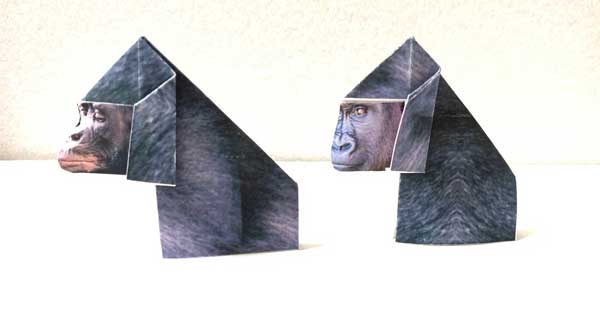
ゴリラができました!後は顔を書いて遊びましょう
I have a gorilla! After that, write a face and play
強そうなゴリラや可愛いゴリラをつくってみよう。
Let's make a strong and cute gorilla.
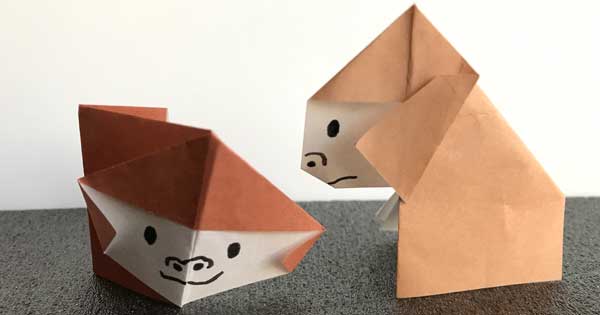
サルも一緒につくって見よう
Let's make monkeys together
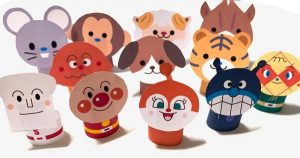
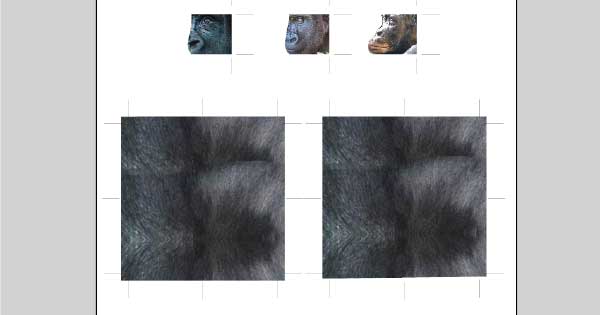
ゴリラのプリント折り紙を作ろう
次は無料でダウンロードできるプリント用紙で作ってみよう。
まずはプリント用紙をダウンロードしよう。
Next, let's make print paper that can be downloaded for free. First, download the print paper.
まずはプリント用紙をダウンロードしよう。
First, download the print paper.
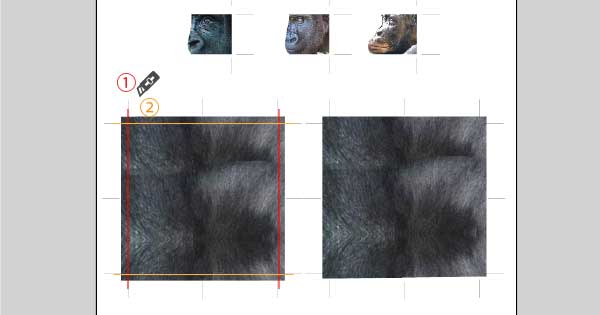
番号の順番にカッターで切り取ります。切り取った用紙で上の作り方を見ながら折り進めておきます。
Cut with a cutter in the order of numbers. Fold it while cutting out the paper and seeing how to make it above.
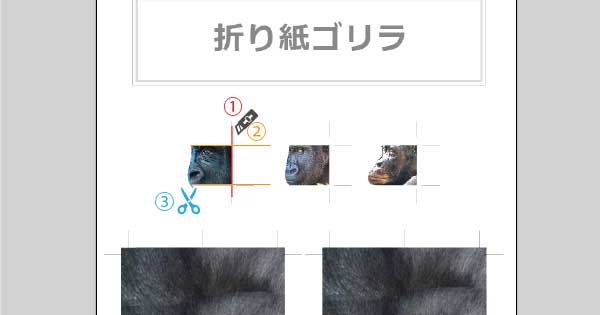
次は顔のパーツを作ります。①②をカッターで切り、③の部分はハサミで切り取りましょう。
Next, we will make face parts. Cut ①② with a cutter and cut ③ with scissors.
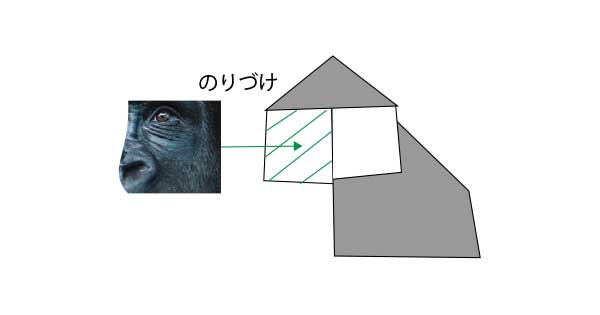
作っておいた体のパーツに切り取った顔のパーツをのりづけします。
Glue the cut out face parts to the body parts you have made.
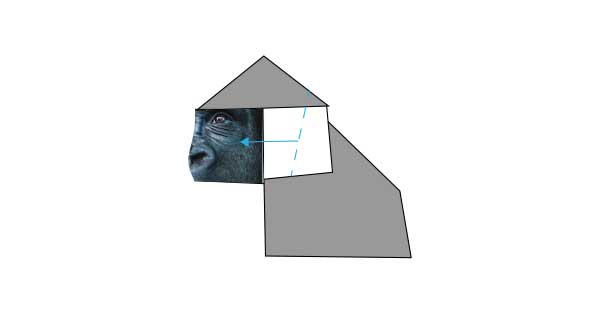
のり付けした後は点線分を折ってゴリラの出来上がり。
After gluing, fold the dotted line to make a gorilla.
ですが、もうひと手間かけることでもっとゴリラに近づきます。青い線の部分をハサミで切り取ります。
However, it takes more time to get closer to the gorilla. Cut out the blue line with scissors.
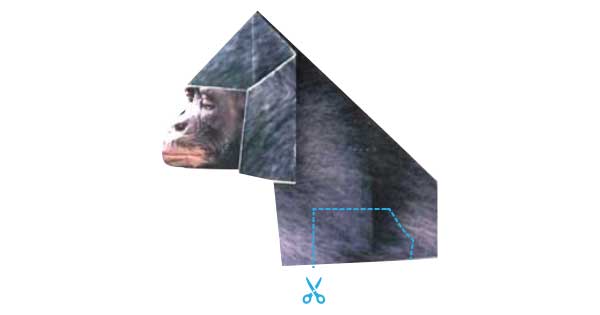
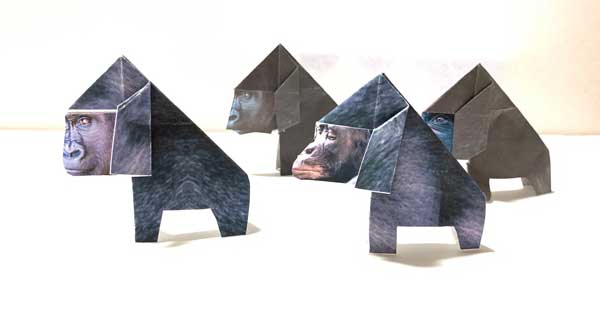
これでリアルなゴリラの完成!たくさん作ってゴリラの王国を作ろう!!
This completes a realistic gorilla! Make a lot and make a gorilla kingdom! !!
ドンキーコングのプリント用紙
ドンキーコングのプリント用紙を使って作ってみよう。色違いのドンキーコングが作れます。
Let's make it using Donkey Kong's printing paper. You can make different color Donkey Kong.
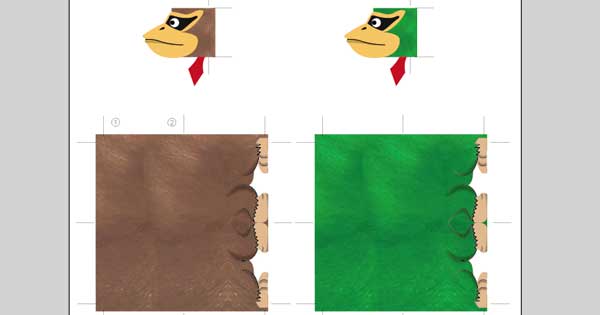
下記から用紙を印刷してください。ページ内のゴリラの折り方と同じ折り方で作れます。大事なポイントは最初の折る場所を間違うと足がそろわないため、用紙に書いてある番号順に折り進めてください。
Please print the form below. You can make it with the same folding method as the gorilla on the page. The important point is that if you make a mistake in the first folding position, your feet will not align, so please fold them in the order indicated on the paper.
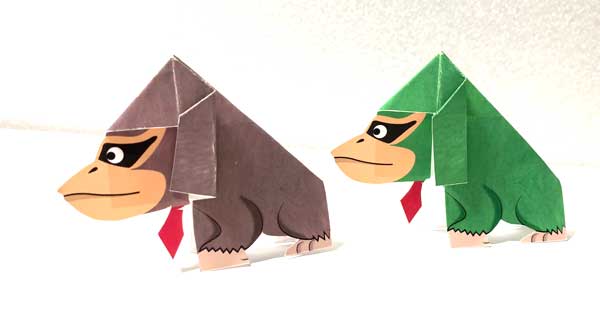
顔を糊付けして、足元の白い部分を切り取ったら折り紙ドンキーコングの完成です!!Glue your face and cut off the white parts of your feet to complete the origami Donkey Kong! !!
\ 最新情報をチェック /